While most people prefer to have professionals lay the foundation and build the structure of a new home, they can save money by doing some of the work themselves. DIY gutters are a great, simple way to save money on a new home, so let’s take a look at the process for installing gutters on your home.
What Materials Do You Need for Installing Gutters?
To install standard-sized, basic gutters, you will generally need to invest in the following materials.
- Ladder
- Drill
- Crimper
- Hex Head Screws
- Medium-Sized Rivets
- Gutters
- Gutter Flashing
- Gutter Hangers
- Downspouts
- Elbows (corners)
- Sealant
Prepping Your Home for Gutters
Before you can actually install your gutters, you need to prepare the same way you would before building your home itself. It is a good idea to sketch your home and plan exactly where you will place your gutters and downspouts. If your home is oddly-shaped, you will need to make allowances for strange bends or corners. The number of corners on your home is the same number of elbows you will need.
What Are the Steps for Installing Gutters?
The DIY gutter installation process may vary depending on the home in question. However, the basics are pretty universal.
1. Measure your home.
First, measure the perimeter of your roof to ensure that you buy enough gutter. Remember to measure the height of areas where downspouts will be located.
2. Gather the materials.
Once you have measured your home and made a list of exactly what you need for project completion, it’s time to gather your materials. Make sure you plan for an adequate number of downspouts so as not to overload your gutters.
Just a note: your downspouts should be located in convenient areas that drain away from your home. Avoid areas with electrical wiring or areas with high foot traffic.
3. Cut and join your gutters.
Based on your measurements, cut and join your gutters together on the ground, before you take them up the ladder. You can connect your gutter pieces by cutting a notch in the front corner of the first piece. Take the piece you want to connect, place gutter sealant around the edge, and then hook it to the notched section of the first piece. Attach corner pieces using your drill and rivets. Make sure to seal any extra seams afterward. If you are including a downspout, make sure you allow for an outlet in the gutter.
4. Hang your gutters.
To hang your gutters, use your hex head screws to screw them to the fascia. Make sure you hang your gutters at a downward slope so that they can fulfill their intended purpose. Gutters don’t do much good if all they do is hold standing water.
5. Install downspouts.
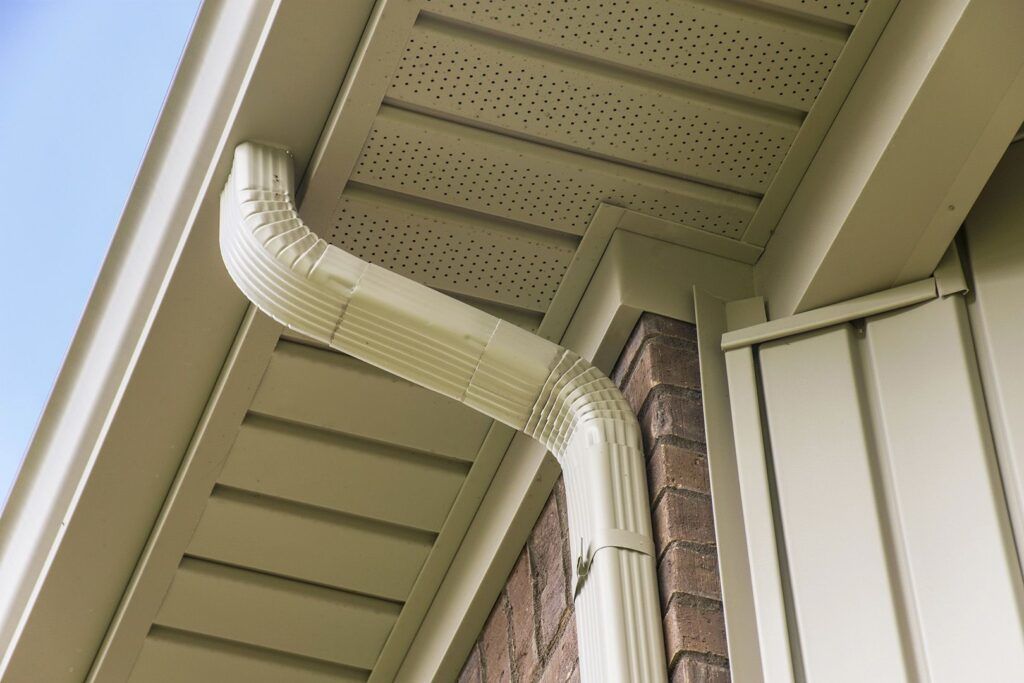
Make sure your downspout tubes run down your house and drain water away from the building. To attach your downspouts, simply screw two downward-facing elbows (positioned in opposite directions and shaped like an S) to the gutter outlet. Cut extra gutter pieces into U-shaped brackets that you can screw to the wall of the house. Screw the tube to the elbows, and use your crimper to fit the downspout to the U-shaped brackets.
6. Install flashers and hangers.
Once you have hung your gutters, go back through and install flashers and gutter hangers for extra support.
Don’t Forget About Gutter Maintenance
Unfortunately, your job isn’t over even after installing gutters. To increase the lifespan of your gutters and ensure that you don’t have to replace them anytime soon, make sure you maintain them. To maintain your gutters, simply clean them every 6 months or as often as you notice them filling up. Gutters clogged with leaves and debris are more likely to break. If you aren’t comfortable cleaning your gutters, simply call a professional for help.
If you’d like to know more about how you can save money on homebuilding, do not hesitate to call us today. At Next Modular, we know that building a new home is likely one of the most important financial decisions you will make. As an experienced modular home builder, we are committed to being your guiding light through this process.


